

STEP 1.
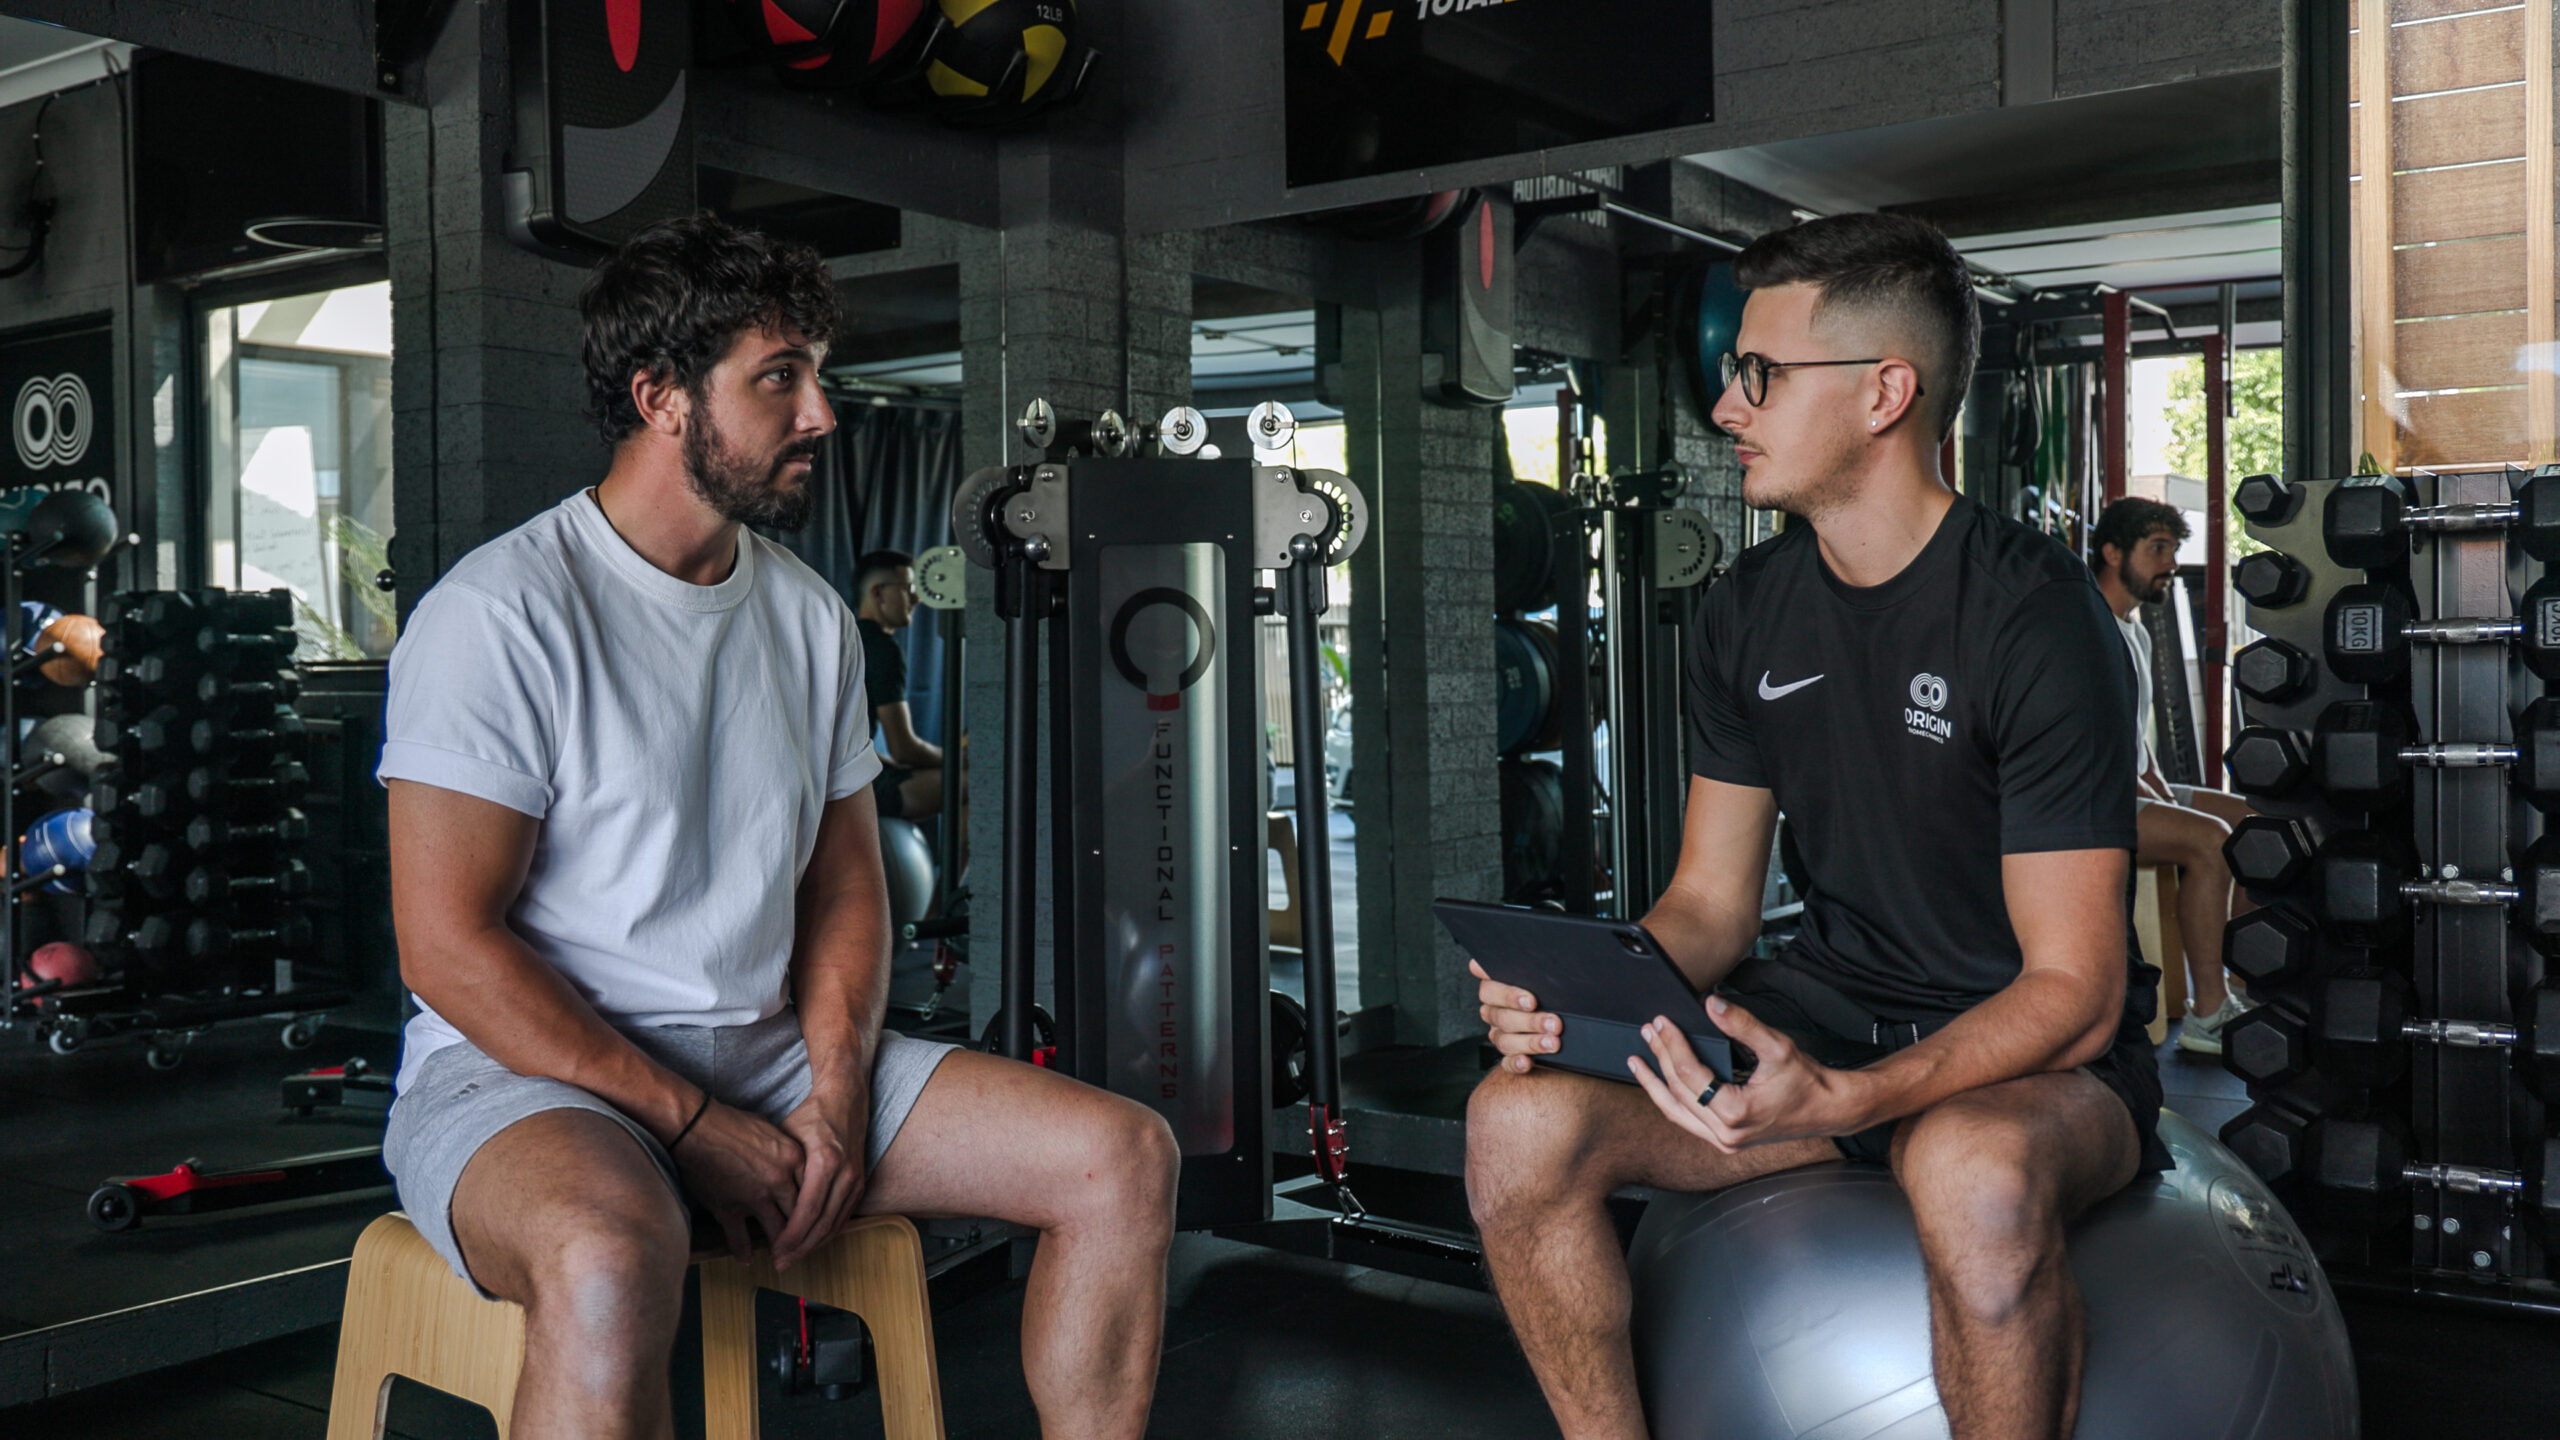
Understanding YOU
With any initial consultation my clients are permitted to fill out an intake form prior to their consult to allow myself to gain a brief understanding of their background. We then elaborate on these details in person so I can then better understand if the client has any underlying injuries they’re wanting to resolve, what their current exercise regime consists of, lifestyle habits that may be getting in the way of their goals and any expectations they may have regarding the training system and process.
I like to make clear to my clients that training with Origin Biomechanics is a medium-long term endeavour. This does not depend on the severity of your condition as much as it depends on your mindset and drive to get better. It’s important I know that I’ll be the right trainer for YOU!
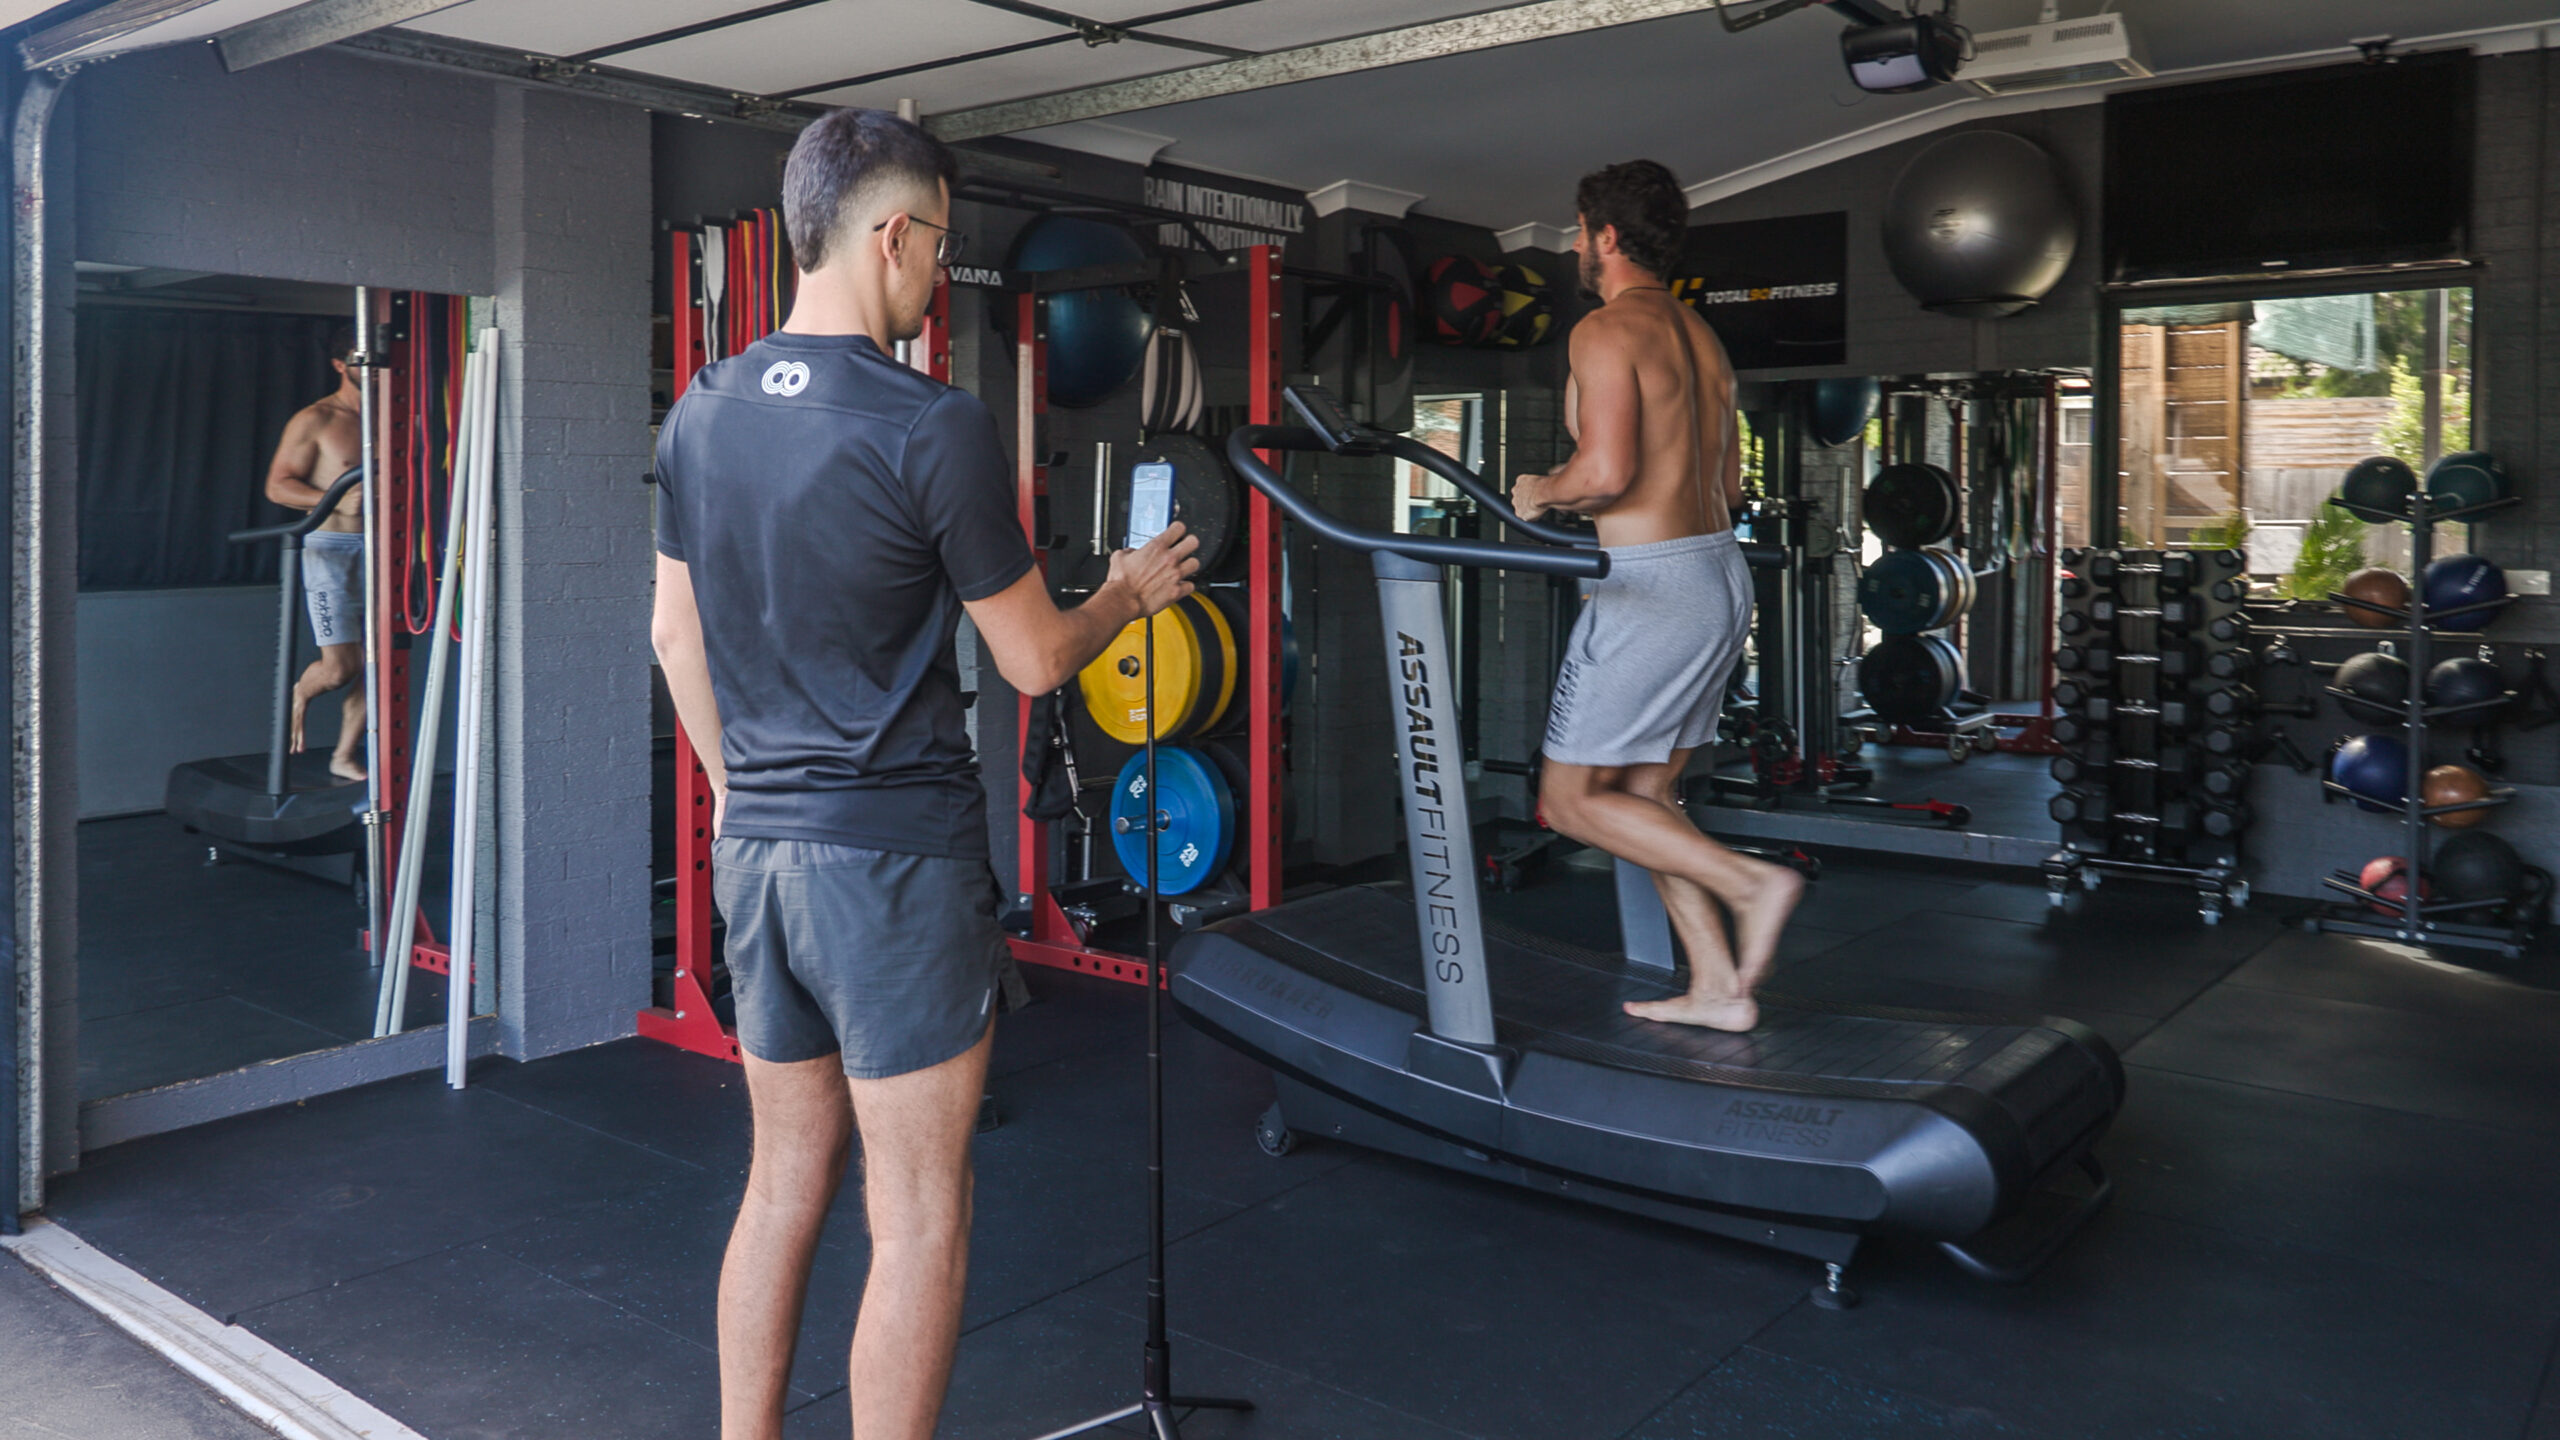
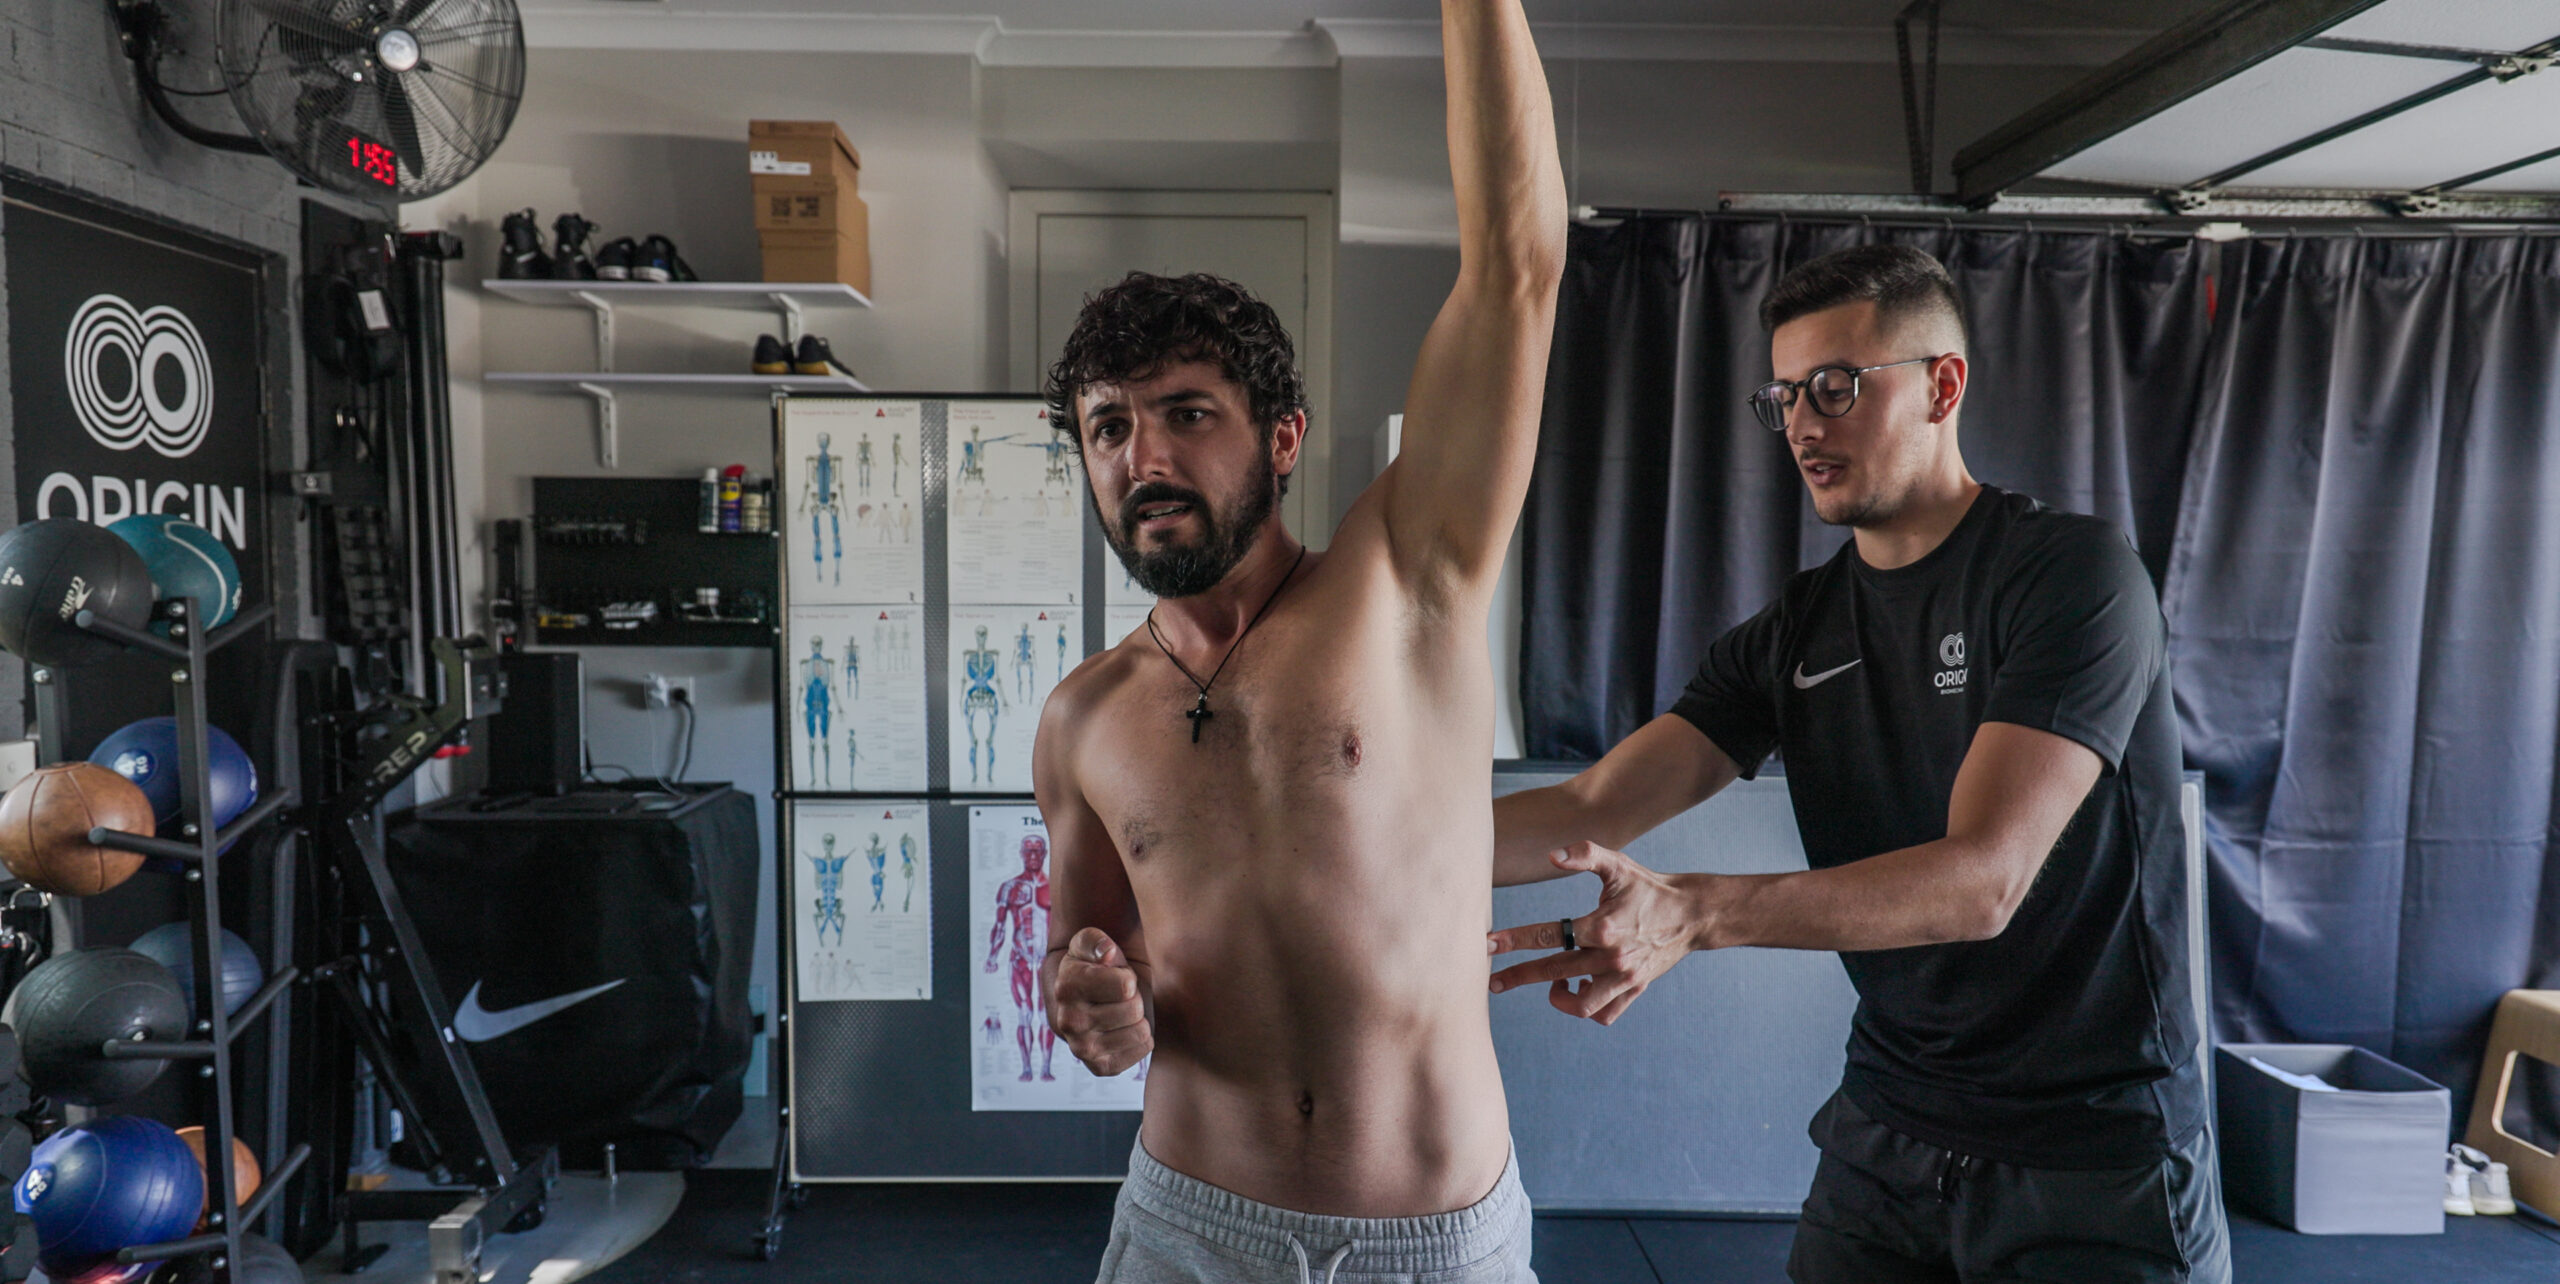
Posture & Gait Cycle Analysis
We begin this stage by capturing photos of your posture and a video recording of your gait cycle from 4 different angles in slow motion footage. With this information we are then able to assess and identify any muscle imbalances, weaknesses or movement patterns that could be contributing to your pain or hindering your fitness goals. These can include factors such as, excessive or lack of rotation, instability through certain joints, unintegrated use of arms or legs and any compression or atrophied muscles.
This is an important part of the consultation as it’ll then enable us to tailor a training plan specific for your body’s needs. We frequently reference back to these photos and footage to ensure progress is being made and what we may need to continue focusing on.
“Please note” minimal clothing is required so that your spine and ribs are as visible as possible for analysis.
STEP 2.
Myofascial Release
A tool I advise my clients to utilise particularly through the early stages of their journey of training with me is a technique known as myofascial release. Myofascial release involves applying sustained pressure on an area to release tension and hydrate your fascia. When we move with structural imbalances our body compensates in other areas to keep us going however over time can often lead to soft tissue fibres becoming restricted and inhabit normal muscle mechanics. As a result of this, injuries can be more likely to come about due to our body’s structure not operating as efficiently as it should be.
MFR (also known as myofascial release) should generally be uncomfortable as you are attempting to break down dense mis-aligned fascia. Being patient with this process will yield the best results so easing into areas of your body particularly the more tender spots will take time and consistency.
Tools commonly recommend for this technique include; firm massage balls (small, medium and large sized), PVC pipe and a yoga block.
STEP 3.
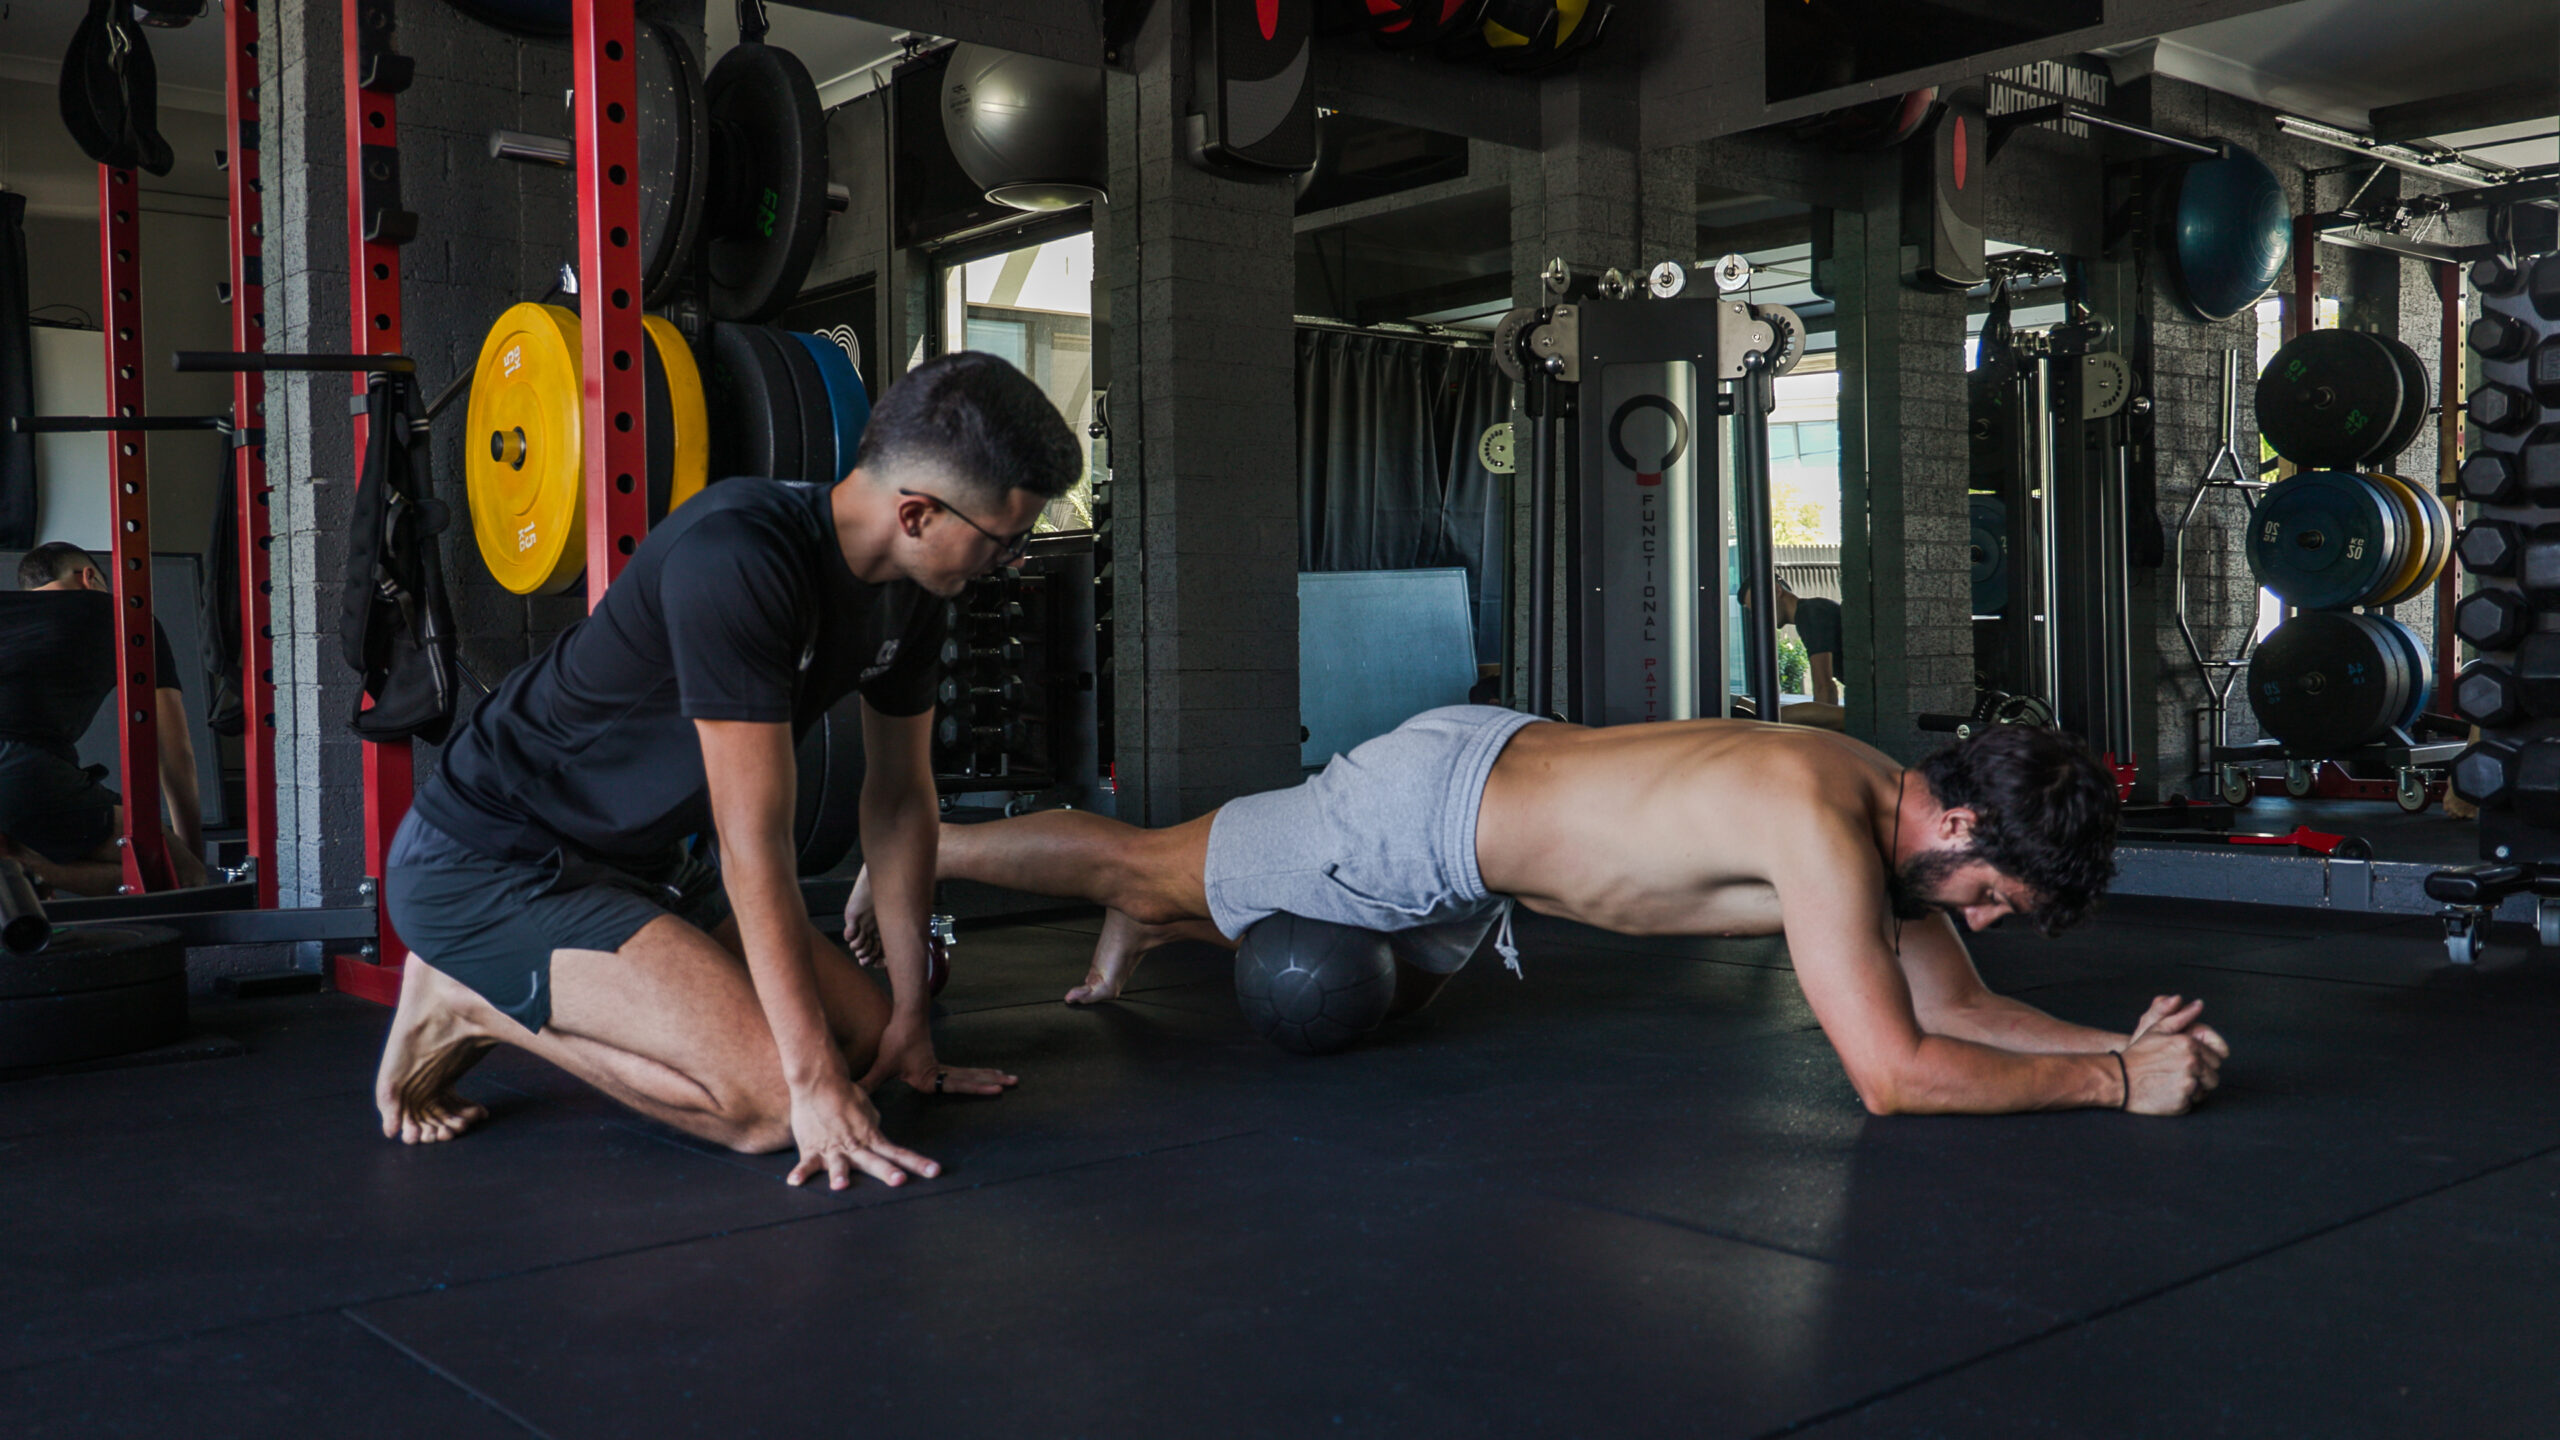
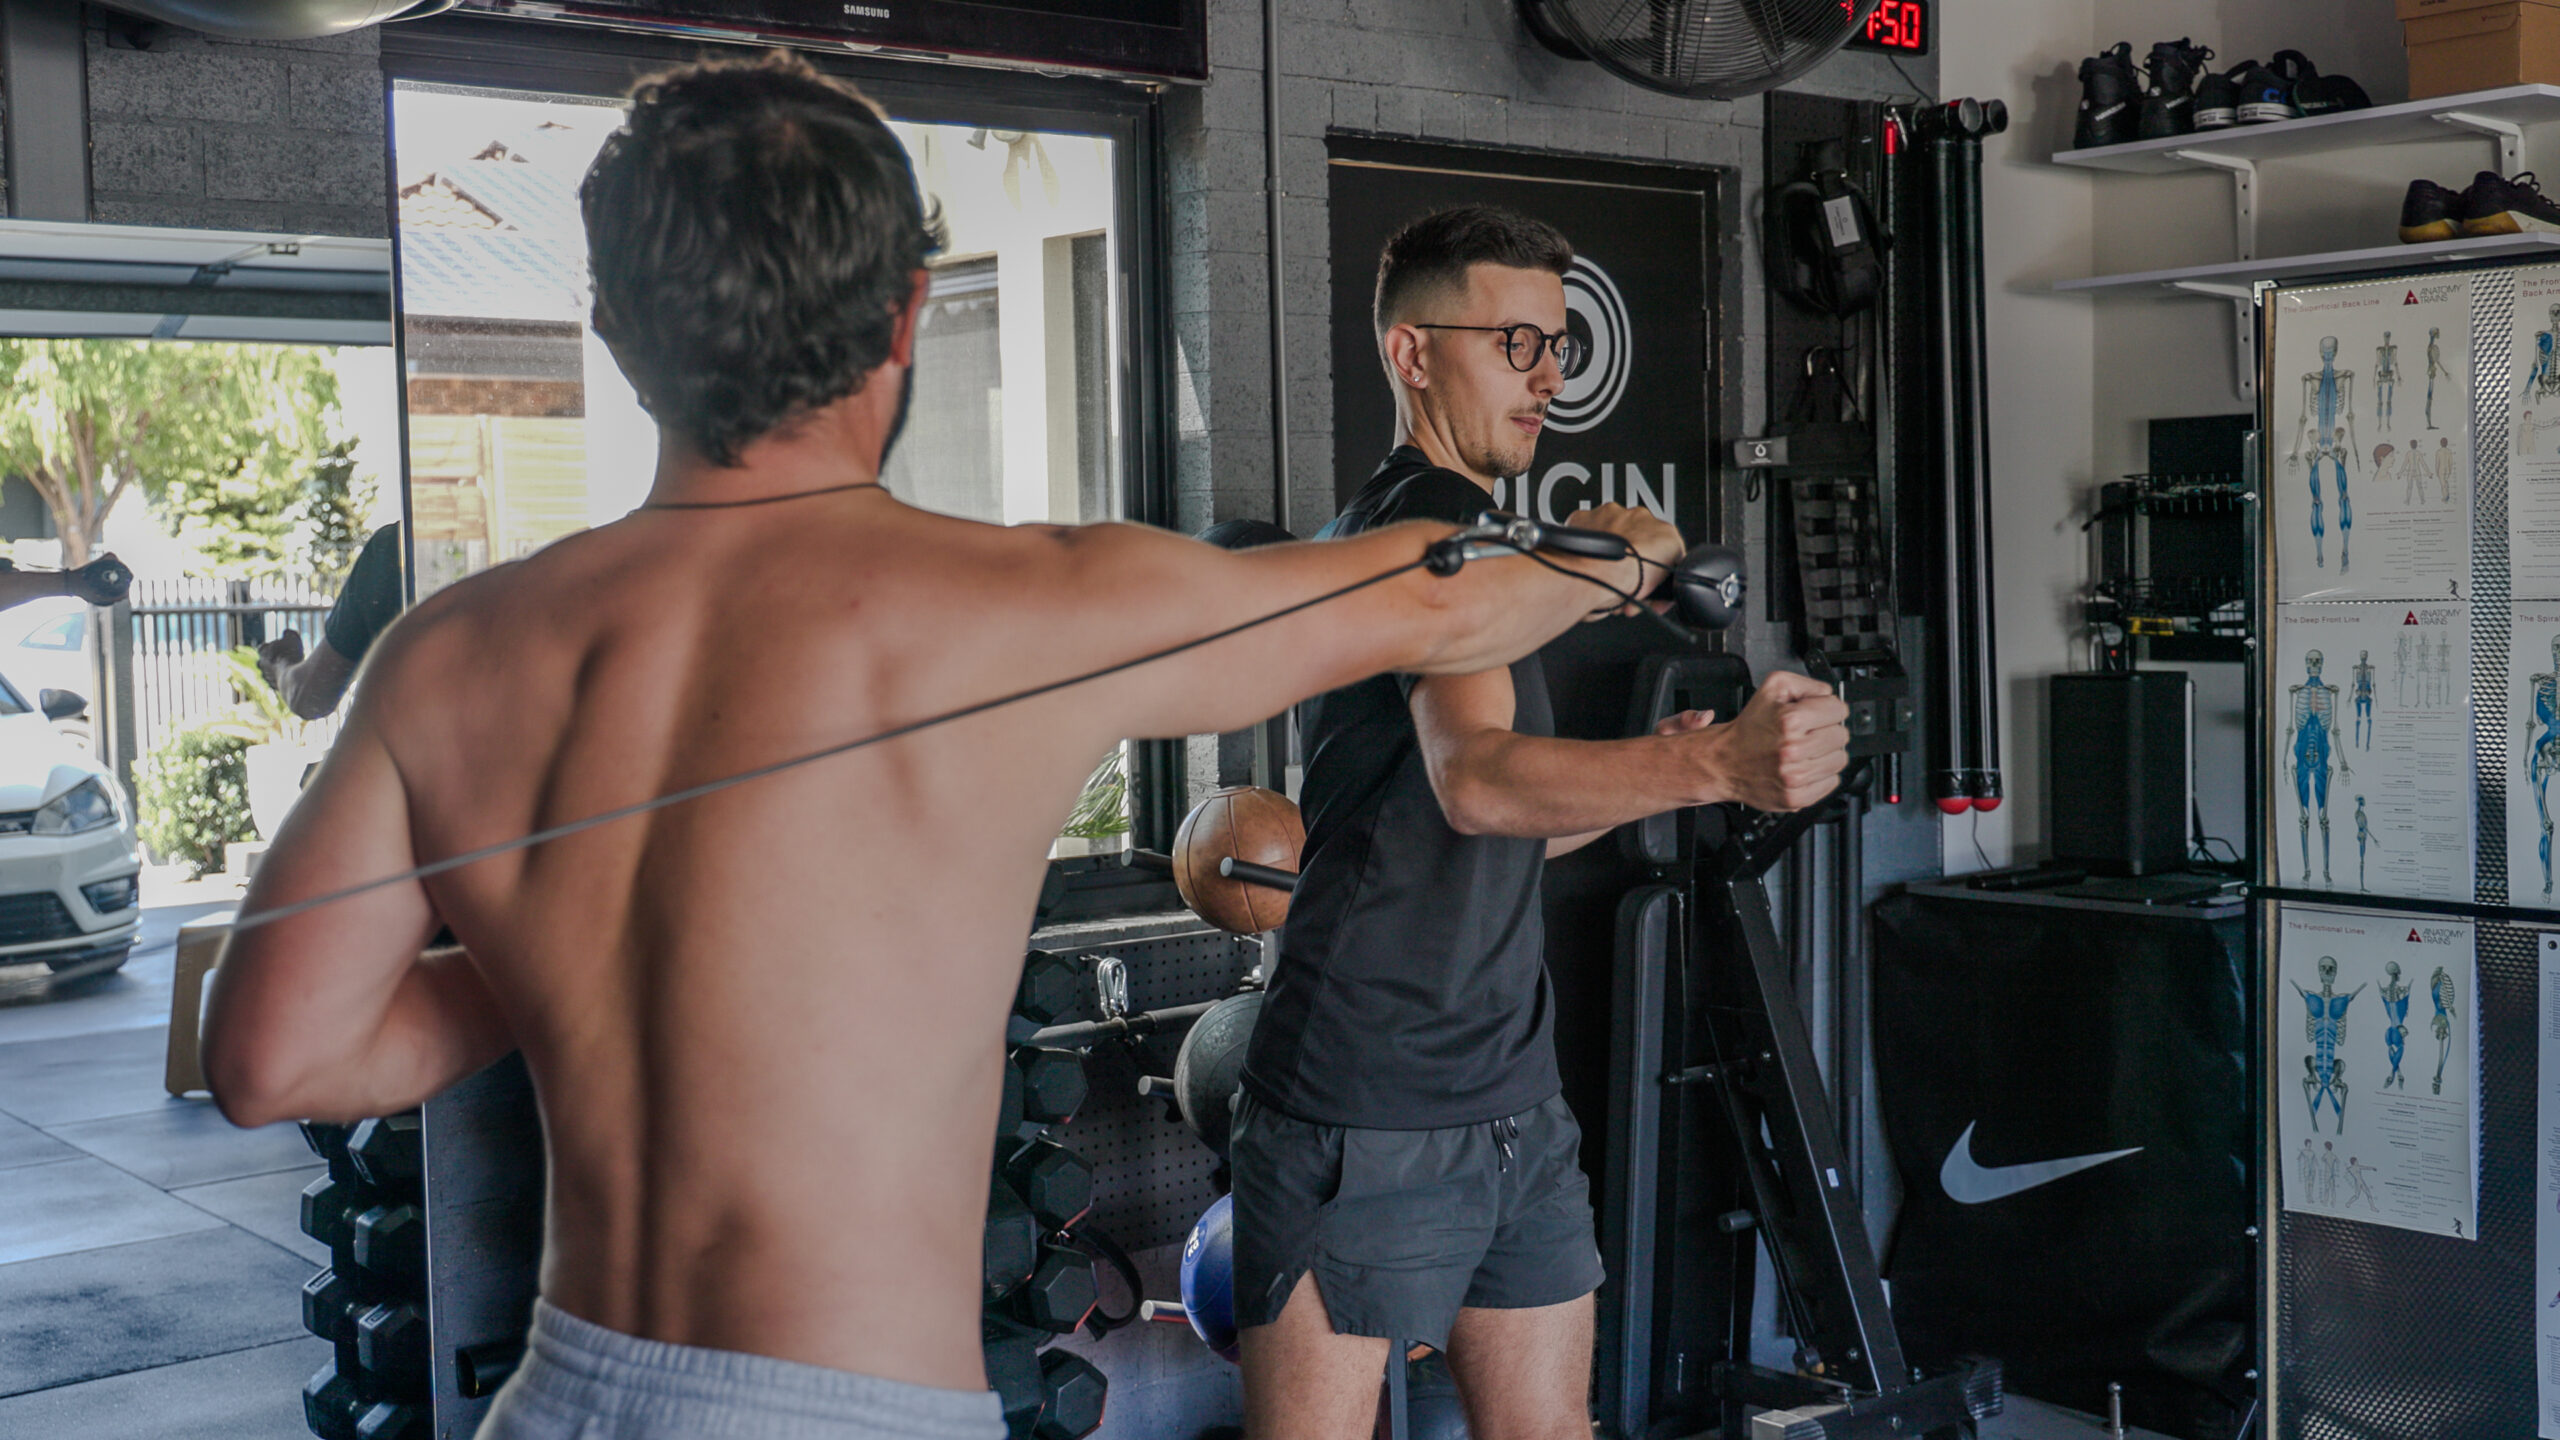
Integrated Corrective Exercise
The integrated corrective exercises you are taught within your sessions are often slow, controlled movements focusing on how your body operates under tension whether that is with your own body weight or with an additional weight load. Quite often inefficient movement patterns will showcase themselves within this process as your body has been wired in a certain manner and could be the reason you’re struggling to overcome any injuries or from taking your training goals to the next level.
The exercises I teach are designed by Functional Patterns which are intended to try replicate the movement sequencing seen in elite athletes and high-level movers. The aim of them is to retrain your body to move with efficiency, power and coordination. You will find these techniques are extremely detailed to ensure correct muscle groups are firing and will be a key factor of what sets this system apart from others out there.
STEP 4.
Dynamic Exercise
In accompany to your slower controlled movements are the dynamic exercises. These exercises commonly consist of more ballistic type movements that require power, speed, and stability all at the once. We use these movements as a way to see how your well your body is taking on the new stimuli we’ve been applying to it and then continue to make adjustments where necessary.
A variety of tools will be used for these motions including; dumbbells, kettlebells, plyo boxes and medicine balls. Depending on the severity of your injury or training goals will determine how much dynamic exercise we put into practice within our sessions.
STEP 5.
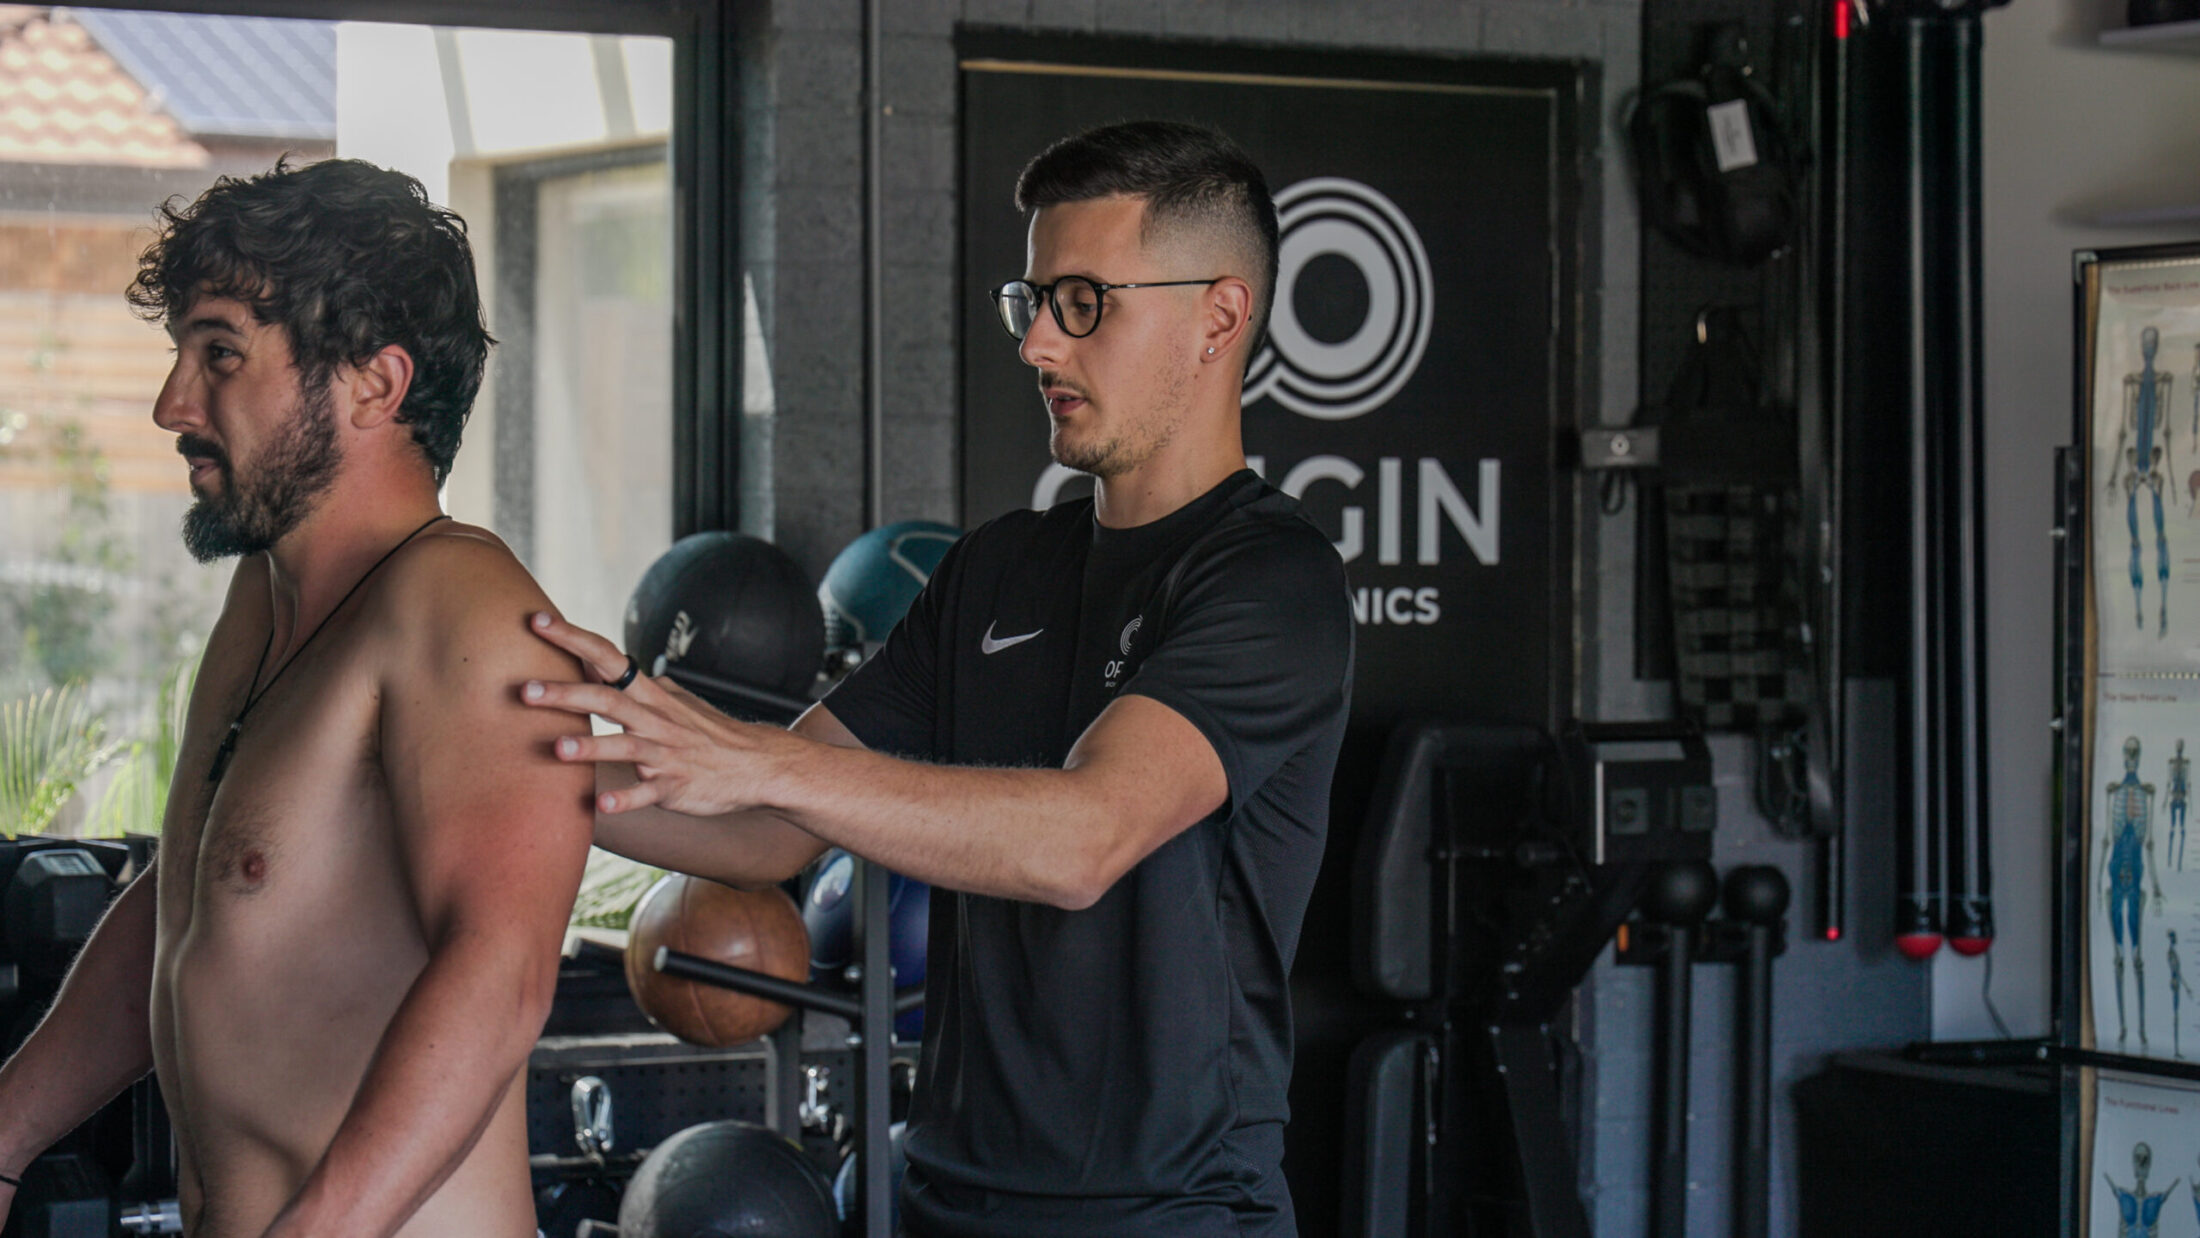
Subsequent Private Sessions
Following your initial consult, we will continue to build on the techniques you’ve learned through your integrated correctives and dynamic exercises. As our focus is improving your posture and gait cycle we will regularly reflect back to your initial photos/videos as a metric to see your progression from then to present. Each session will continue to focus on addressing your imbalances and pain whilst still allowing you to build strength, confidence and better movement patterns back into your body.
Exercises that are covered in face to face sessions are generally assigned for client’s to work on outside their appointments. They are welcome to complete this at home or at a commercial gym (if preferred). This is considered an important component in achieving effective results.